Sunday, October 31, 2021

Tombstone Treat Boxes


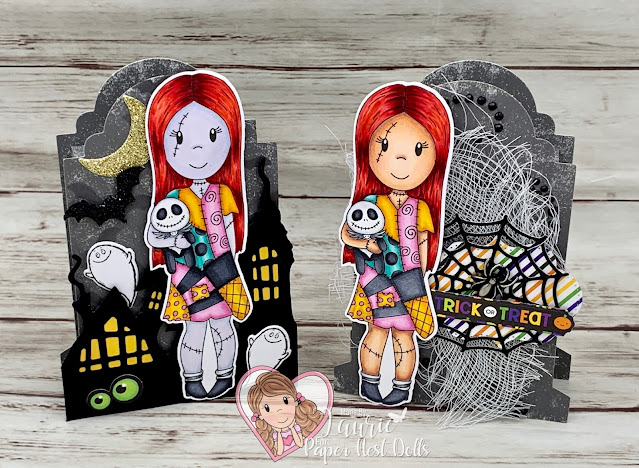
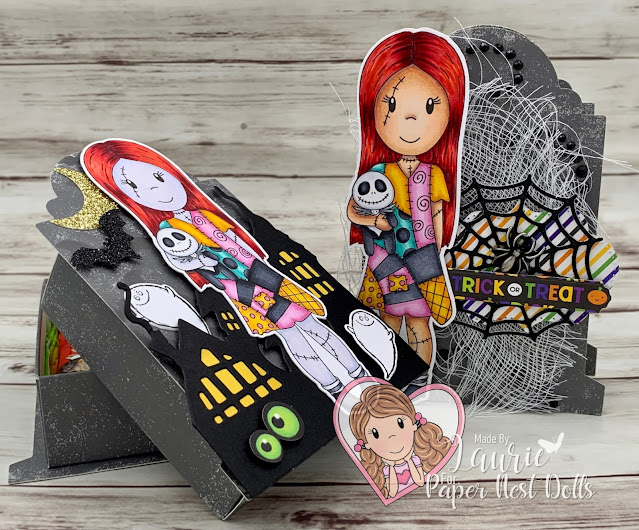
Happy Halloween Crafty Friends! It's Laurie here! Today I am sharing My Tombstone Treat Boxes as my Design Team Inspiration for Paper Nest Dolls using Ragdoll Sally.

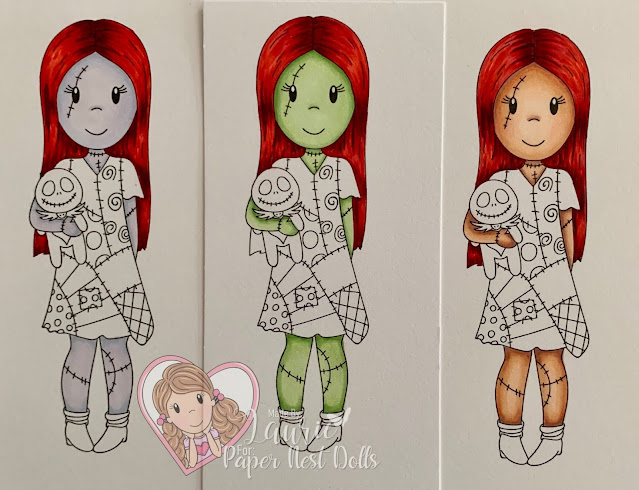
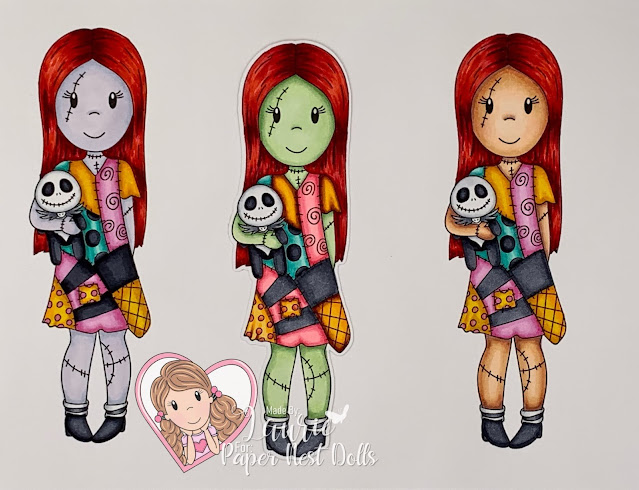
I had a lot of fun colouring this cutie with my Copic Markers! In fact, I coloured her skin in three different tones. So, I created a poll in The Paper Nest Dolls Inspiration Facebook Group on which skin tone was the most popular. The most popular green skin tone was used to create a card (Link to it here), but I couldn’t resist colouring the other two to create my treat boxes.

Since it’s Halloween what better way to celebrate with treat boxes to give out to all those cute trick-or-treaters! The Stampin’ Up! Tombstone Treat Boxes were so fun to decorate with lots of little bits from my stash! And the finishing touch was my coloured Ragdoll Sallys!

--------------------------

Copic Markers:


Hair: R29/R27/R24/C5
Purple Skin: BV20/B60/V20
Natural Skin: E000/E00/E21/E11/E04
Blacks on Dress: C7/C5/C4
Blues: BG18/BG15/BG13/BG11
Yellows: Y38/YR23/Y15
Pinks: RV55/RV63/RV52
Shoes: C7/C5/C4
Socks: C4/C3/C0
Jack Stuffie: C9/C7/C5
Jack’s Head: C3/C0/3
Jack’s Collar: C5/C4/C3

--------------------------

Recipe for My Tombstone Treat Boxes:


Ragdoll Sally, Paper Nest Dolls
Paper Basics - Stamper's Select White Cardstock, Papertrey Ink
Tombstone Treat Boxes, Stampin’ Up!

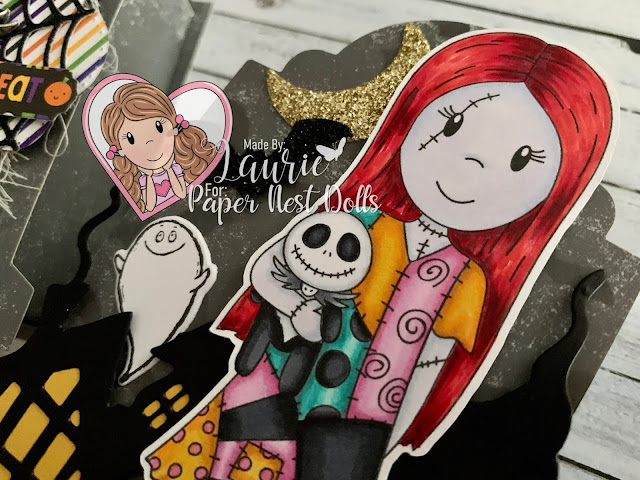
Treat Box 1
Black Glimmer Paper, Stampin’ Up!
Gold Glimmer Paper, Stampin’ Up!
Scary Town Builder Dies, Stamp AnnieThing
Cauldron Bubble Bundle, Stampin’ Up!
Sliding Star Framelits Dies, Stampin’ Up!
KP Halloween Die-Cut Cardstock, K& Company
Spooky Bats Punch, Stampin’ Up!
Basic Black and Crushed Curry Card Stock


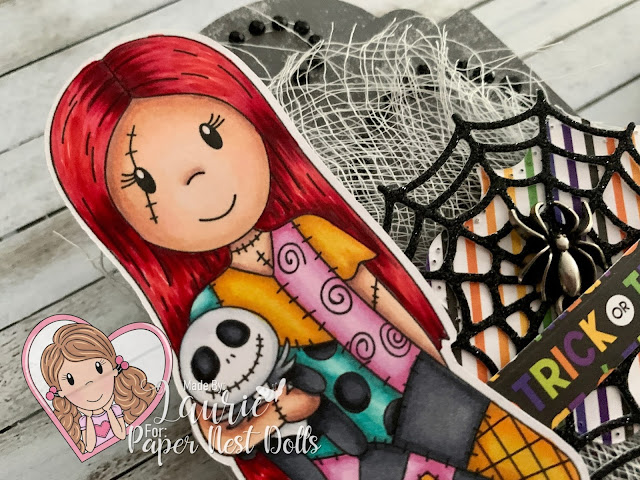
Treat Box 2
Ghouls & Goodies 6” x 6” Paper Pad Doodlebug Design Inc.
Frightful Tags Dies, Stampin’ Up!
Black Glimmer Paper, Stampin’ Up!
Haunted Adhesive Rhinestones, Recollections
Idea-ology Adornments, Tim Holtz
Cheese Cloth
Basic Black Card Stock

Finished Treat Boxes size: 3.5” x 5”

--------------------------

Hope you like my Design Team Inspiration using
Ragdoll Sally by Paper Nest Dolls!

Thank you for stopping by!

Hugs,
Laurie


Friday, October 29, 2021

Ragdoll Sally

   Hello my crafty friends!!

It's Candace here today on the Paper Nest Dolls blog!!

Today I'm showcasing the newest digital stamp Ragdoll Sally.  

You can pick her up HERE!

This image was perfect to make a Halloween theme card.


Thanks for stopping by and have a great day!

Thursday, October 28, 2021

Cutest Pumpkin in the Patch

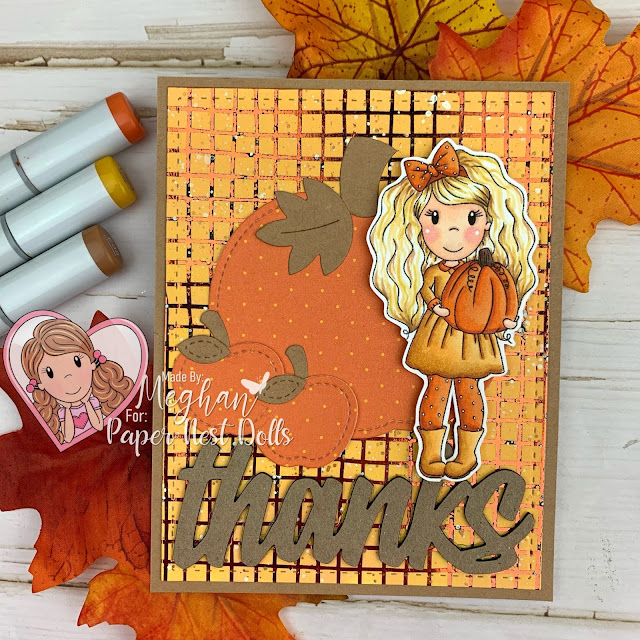
Hi PND Fans! It's Betty back with another card. Fall is my favorite time of year. Here in Northern California, the leaves are finally starting to change color. It's really fun to walk to my nearest park and see all the sycamore, maple, and oak trees all turn orange, red, yellow, and purple. It is really magical. I knew when Paper Nest Dolls came out with this stamp called Fall Emma, it was going to be one of my favorite fall stamps! I used this digital stamp to make an A6 size card.


I first printed the sentiment and digital stamp and colored it with Copic markers, Polychromos pencils, and Prismacolor pencils.


Copic Markers Used
Skin: E13, E11, E21, E00, E000
Hair: E18, E08, YR18, YR14
Cheeks: R20, R30
Pumpkin: E09, YR09, YR04, Y38
Stem: YG97, YG93, YG91

Polychromos Pencils Used
Leaves: 109, 116, 177, 133, 163
Coffee Cup: 274, 271, 180, 177, 109, 115

Prismacolor Pencil Used
Stripes on jacket: PC1008


I used dark orange cardstock to use for the card mats, along with a leaves patterned paper from Hobby Lobby.  I die cut a few leaves, ink blended the edges with Oxide Ink in Hickory Smoke. This is an easy one layer card that I hope you will try! 


Thank you for visiting and have a great and crafty week! 

Tuesday, October 26, 2021

Birthday Slimline Shaker Card

Birthday Slimline Shaker Card

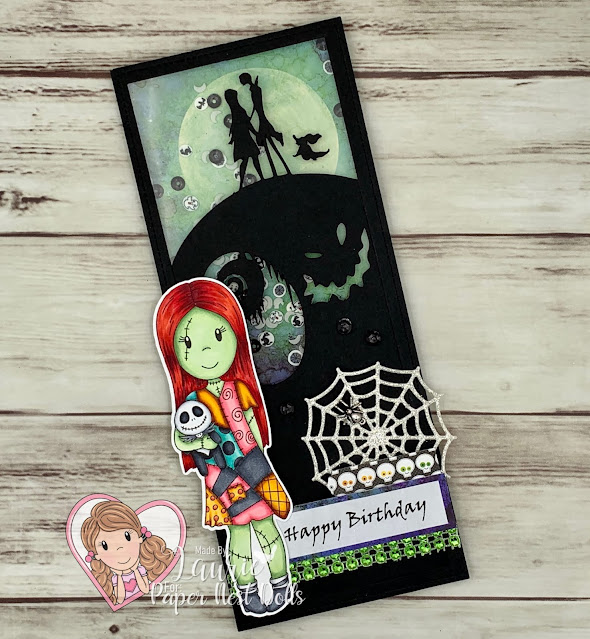
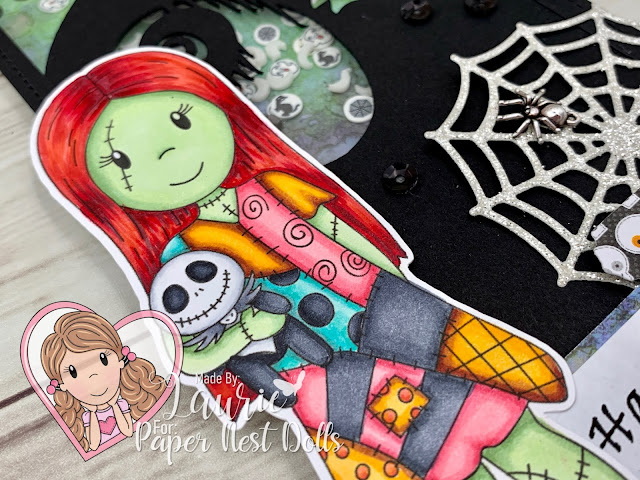
Hello Crafty Friends! It's Laurie here! Today I am sharing My Birthday Slimline Shaker Card as my Design Team Inspiration Card for Paper Nest Dolls using the Ragdoll Sally. Every year, my Hubby and I watch Nightmare Before Christmas for Halloween. It’s also my Hubby’s birthday on Thursday and I thought a birthday card with Ragdoll Sally would be perfect for him.

I had a lot of fun colouring this cutie with my Copic Markers! In fact, I coloured her skin in three different tones. So, I created a poll in The Paper Nest Dolls Inspiration Facebook Group on which skin tone was the most popular. It turned out that the green skin tone was the winner. So, I used her for my card.


Of course, I also coloured the others and created Halloween treat boxes with them which I plan to share later this week.

For my card, I decided to create not only a slimline card, but a shaker card with glow in the dark moons! So fun! I know my Hubby will get a kick out of it! I found this cool graphic on Etsy for Nightmare Before Christmas. So, I used my Silhouette Cameo to tweak it to fit my shape and then die cut it out. The moon paper was 6” x 6”, but since I only needed it for the top half of my card, I trimmed it down to fit.

The Happy Birthday sentiment was printed out on my computer using Word and the Viner Hand ITC font. I created a collage of different items around the sentiment including the glittery spider web and spider trinket. Don’t you love the pop of green that the mesh created at the bottom of the card to mirror her skin and the Lavinia moon paper!

--------------------------


Copic Markers:


Hair: R29/R27/R24/C5
Skin: G24/G21/G20/G40
Blacks on Dress: C7/C5/C4
Blues: BG18/BG15/BG13/BG11
Yellows: E18/E15/Y38/Y35
Pinks: RV14/RV13/RV21
Shoes: C7/C5/C4
Socks: C4/C3/C0
Jack Stuffie: C9/C7/C5
Jack’s Head: C3/C0/3
Jack’s Collar: C5/C4/C3


--------------------------


Card Recipe for My Birthday Slimline Shaker Card:


Ragdoll Sally, Paper Nest Dolls
Paper Basics - Stamper's Select White Cardstock, Papertrey Ink 
Spellbound 2 SceneScapes 6” x 6” Paper, Lavinia Stamps
October 21St. 6" x 6" Paper Pad, Doodlebug Design Inc.
Window Sheet, Stampin’ Up!
Dazzling Diamonds Glimmer Paper, Stampin’ Up!
Jack Skellington Bundle, SunMagicArt, Etsy
Silhouette Cameo
Small Slimline with Lift the Flaps, Lawn Fawn
Large Slimline with Sliders, Lawn Fawn
Frightful Tags Dies, Stampin’ Up!
Rhinestone Mesh, Crafts, Dollarama
Moon-Glow in the Dark Shakers, Dress my Crafts
Halloween Shakers, Dress my Crafts
Black Sequins, My Stash
Spider Trinkets, Stampin’ Up!
Basic Black Card Stock

Finished card size: 3.5” x 8.25”

--------------------------

Hope you like my Design Team Inspiration Card using
Ragdoll Sally by Paper Nest Dolls!

Thank you for stopping by!

Hugs,
Laurie


Saturday, October 23, 2021

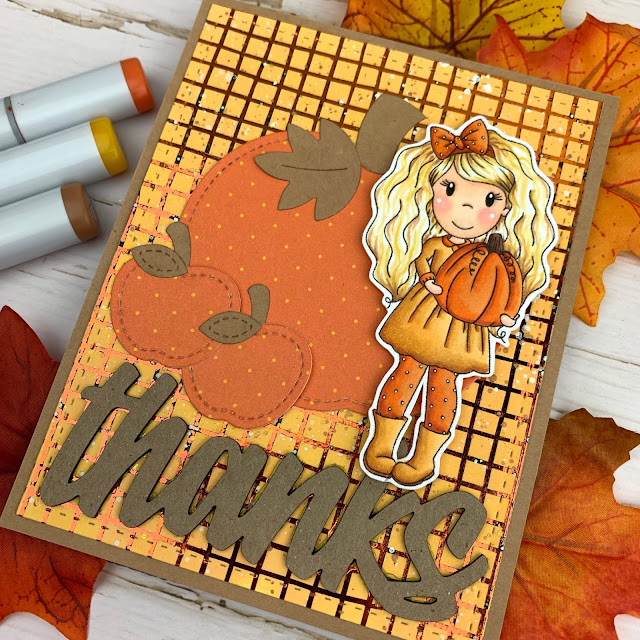
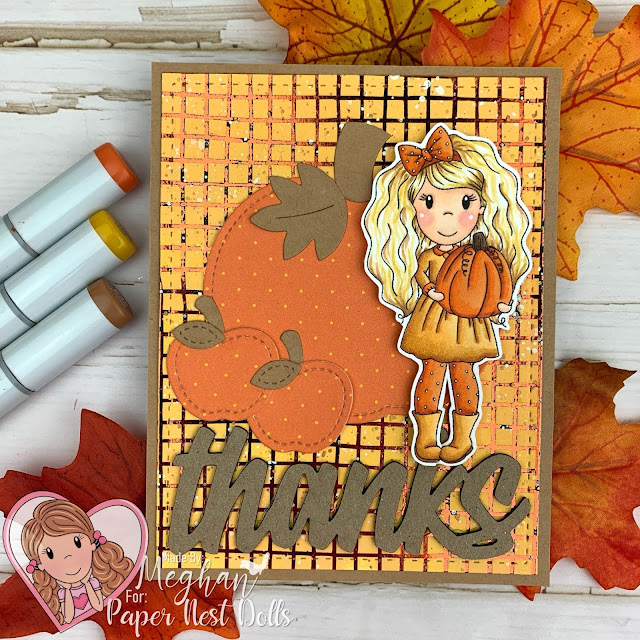
Avery with Pumpkin

Hi Crafty Friends,
I am grateful for this cutie from Paper Nest Dolls called Avery with Pumpkin. She makes me smile and I love her outfit.

Make Crafty Friends Q & A:
Q: What stamp are you the most grateful for in your stash?
A: Me? I love Avery below, but I also love almost ALL of Paper Nest Dolls Stamps especially the Avery ones.


Don't forget to subscribe, follow, and comment on my blog AND my Instagram @MadeByMeghanK for your chance to win my October Prize.

Supplies:
Paper Nest Dolls Avery with Pumpkin

Friday, October 22, 2021

Secret Girl Emma

  Hello my crafty friends!!

It's Candace here today on the Paper Nest Dolls blog!!

Today I'm showcasing the newest digital stamp Secret Girl Emma.  

You can pick her up HERE!

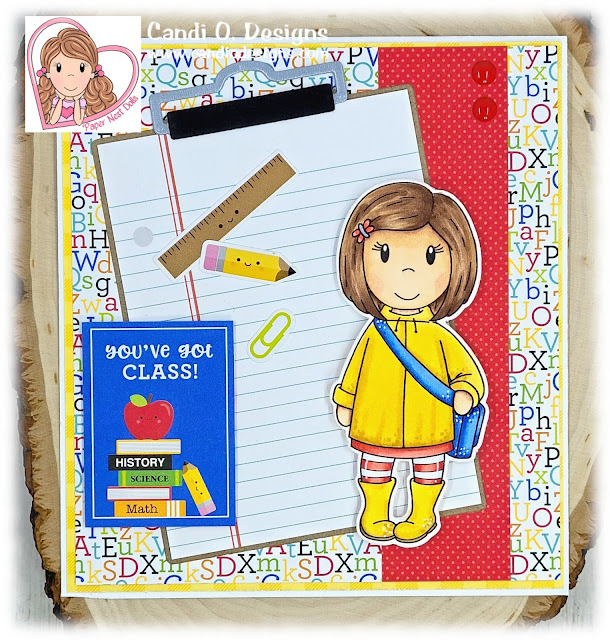
This image was perfect to make an everyday school theme card.

Thanks for stopping by and have a great day!

Thursday, October 14, 2021

True Friends are Always Together in Spirit

Hi PND Fans! It's Betty back with another card. Inspired by the movie Mulan, Paper Nest Dolls has created this cute, fun, and versatile stamp called Warrior Princess. I found this sentiment just right for this card that I will be sending to a friend. This stamp comes in red rubber and in digital formats. I used the digital format for my card so that I could make it the size I want. I knew I wanted to make an A6 size card. 

To start, I printed the Warrior Princess stamp and colored it with Copic Markers.
 

Copic Markers Used
Warrior Princess:
Skin: E04, E11, E21, E00, E000
Cheeks: R20, R30
Hair: T9, T7, T5, T3
Red: R24, R22, R21, R20
Green: G45, G24, G21, G40
Blue: BG07, BG05, BG02, G00

Dragon:
Red: R24, R22, R21, R20
Yellow: YR15, Y19, Y13
Brown (nose): E37, E35, E31
Blue: BG05

Dog:
Fur: E57, E55, E53, E51
Nose: T7, T3, T1
Inside ears: R24, R22
Collar: R21, R20

Cricket:
V15, V12, BV13, BV11


I used black cardstock and patterned washi paper to mat the card front. I adhered all the layers together with double-sided tape. Do not use liquid glue on washi paper or the paper will wrinkle. 


This is a easy one layer card to make so I hope you give it a try! Thank you for stopping by and I hope you have a creative week. 
copyright © 2013 the paper nest · graphics by erica belton · web design by red peach designs