Hello Crafty Friends! It’s
Laurie here! I am sharing my Blooming Wishes Birthday Card that was published in the March Issue (#242) of the Simply Cards and Papercraft Magazine. I was honoured when Christine Young, owner of Paper Nest Dolls, asked me to create a card to be published using Watering Can Gnome from the
Gnome Set. There are ten images in the set including:
- Shears Gnome
- Tulip Gnome
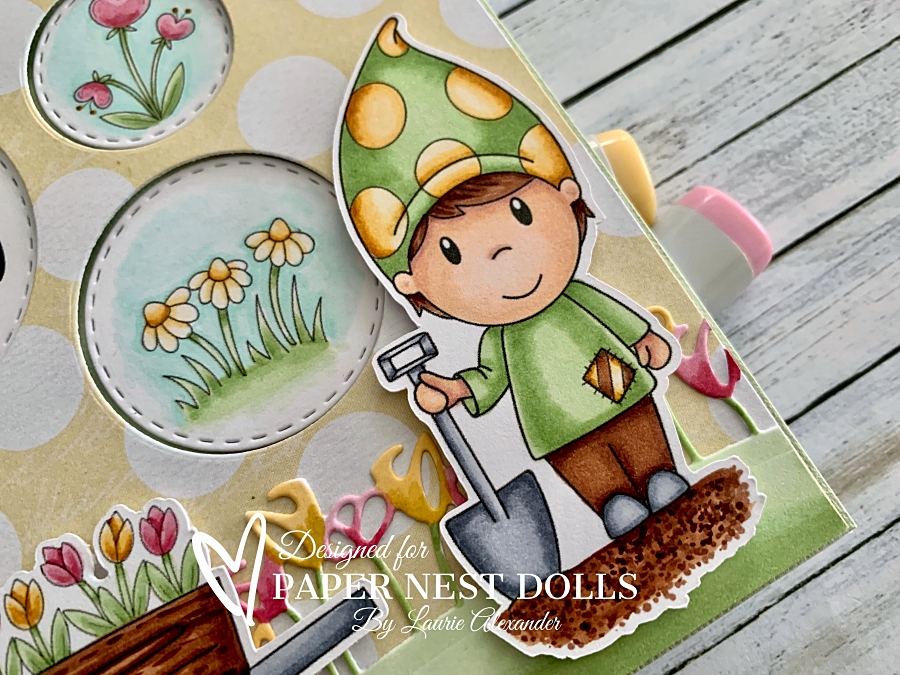
- Shovel Gnome
- Watering Can Gnome
- Bird Bath
- Tulips
- Daises
- Mushroom with Butterfly
- Wheelbarrow Gnome
- Gnome Home
The Details of My Card
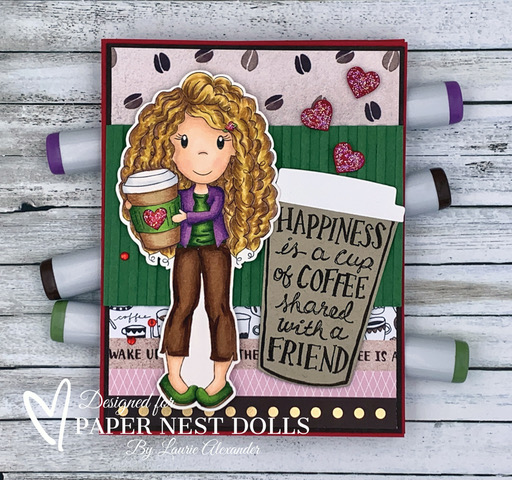
For my card, the Magazine had specified pastel colours with a Spring theme. So, I used The Four Seasons Spring, P13 paper for my card. I coloured my images with my Copic markers to match my paper.
To build my card, I used the largest mini slimline scallop die to create a banner behind my focal point. I trimmed it down to fit my card. Next, I added a banner along the top to finish off the top.
Tip: Use mini slimline dies for different sized cards by trimming down to fit project.
I thought that the watering can die would be fun way to anchor my watering can gnome. Accordingly, I die cut the watering can twice, once in pink and once in yellow. Then, I trimmed the top and bottom of the yellow watering can and adhered to the pink to give the watering can a two tone look.
Once that was done, I layered the watering can with a sun and cloud from my favourite die set. I added the tulips along the bottom of the watering can and added one of the birds from the Bird Bath Stamp.
Tip: Use parts of digital stamps, like the birds from the birdbath, instead of the whole stamp to create interest.
The sentiment was printed out on my computer and slid behind the watering can gnome’s head almost like she is wishing the recipient a blooming birthday!
The other bird and butterfly were added to the music paper on the card base.
Clear Wink of Stella was added to the wings of the butterflies and Glossy Accents to her watering can A scattering of rhinestones that were coloured with my Copic markers were added to give sparkle.
————————–
Copic Markers
Watering Can Gnome
Skin: E15/E13/E11/E00/E000/R20
Hair: E25/YR24/Y26/Y21
Pinks: R85/R83/R81
Greens: G82/G43/G40
Yellows: YR24/YR31/YR30
Flower Petals: YR31/YR30
Flower Centre: YR24/YR31
Watering Can: C5/C3/C2
Tulips
Pinks: R85/R83/R81
Yellows: YR24/YR31/YR30
Greens: G82/G43/G40
Birds
Yellows: YR24/YR31/YR30
Beaks: YR24
Butterfly
Body: C5/C3/C2
Wings: BG11/BG10
Rhinestones: R85/G82
————————–
Card Recipe for My Blooming Wishes Birthday Card
Paper Basics – Stamper’s Select White Cardstock, Papertrey Ink
The Four Seasons Spring, P13
Chiffon Card Stock, Bazzill
Romance Card Stock, Bazzill
Spring Showers Dies, Lawn Fawn
Shaped Card-Watering Can Dies, Creative Expressions by Sue Wilson
Petite Scallop Mini Slim Stacklets, Taylored Expressions
Gnome Men Sentiments, Polkadoodles Stamps & Papercrafting
Clear Wink of Stella, Stampin’ Up!
Glossy Accents, Ranger
Basic Rhinestone Basic Jewels, Stampin’ Up!
Finished card size: 5” x 5”
Stamp Size: 3”
————————–
Hope you like my Design Team Inspiration Card using
Watering Can Gnome from the
Gnome Set by Paper Nest Dolls!
Thank you for stopping by!
Hugs,
Laurie